
You’re offline. This is a read only version of the page.


The following instructions are in regards to setting up AirMagnet WiFi Analyzer to conduct a wireless packet capture in multi-adapter mode.
If WiFi Analyzer is started with more than one AirMagnet supported wireless network adapter (up to a maximum of three), each of the supported adapters will be focused on collecting data on a specific selected channel. This is different from single adapter mode.
In single adapter mode, the supported AirMagnet adapter can scan multiple selected channels (as determined within the Scan tab in Config). Each selected channel is scanned for 250 milliseconds, by default. While scanning multiple channels on a single adapter has its benefits, this also means that there is a period of time in which no data is collected for a particular channel. For example, with the scan time set to 250ms, 4 channels per second will be scanned.
WiFi Analyzer in multi-adapter mode forces each supported wireless network adapter to only scan one selected channel. This means that packets for the selected channels will be captured without interruption.
Setting up a Capture with Multiple Adapters
1. Start AirMagnet WiFi Analyzer. With multiple adapters attached to your device, choose up to a maximum of three supported adapters. In this example, three Proxim Wireless 8494 adapters will be selected.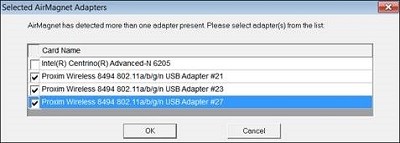
2. Open File > Configuration (or click the Gear icon on the menu bar).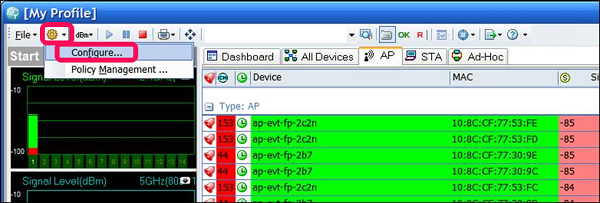
3. On the Profile tab, you can set your criteria for Capturing to Disk if needed (see AM WiFi Analyzer: Capture and Save Up To 2 GB Capture Files); otherwise, this example shows a live capture. Click the Scan tab to continue in this guide.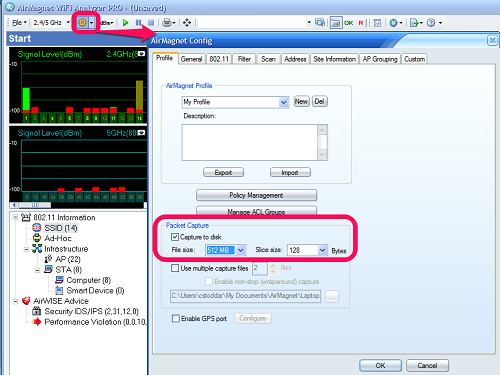
4. On the Scan tab, set your scanning criteria. Note that the number of adapters visible in the Scan tab is in direct relation to the number of adapters selected when launching WiFi Analyzer, up to a maximum of three. 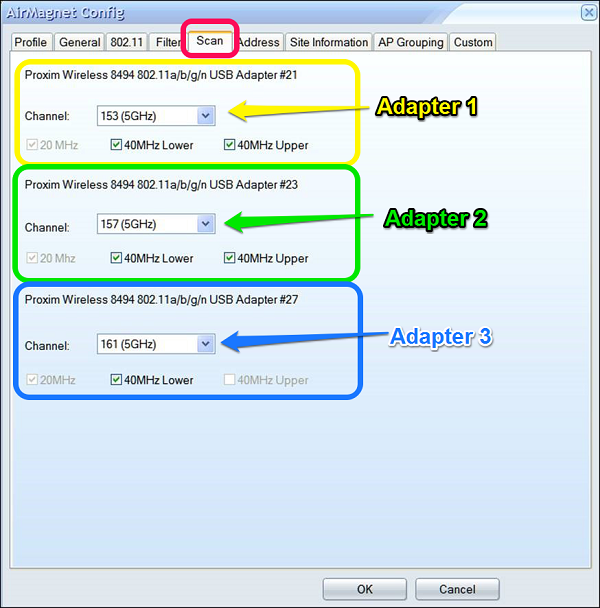
5. Under each adapter, select the desired channel to be scanned. Check the 40MHz channels if applicable. Click OK when done.
6. The channel scanning should reset to the newly selected channels.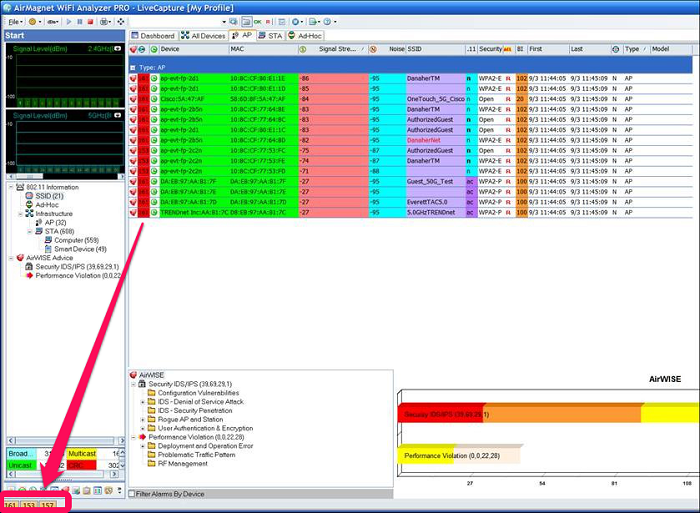
7. On the lower left hand side, select Decodes.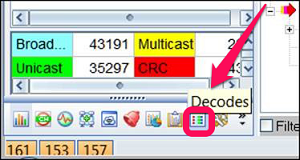
8. The Decodes screen shows the collected packets on the selected channels. Notice that for 3 adapters, there are 3 columns, one showing the packets captured for each adapter.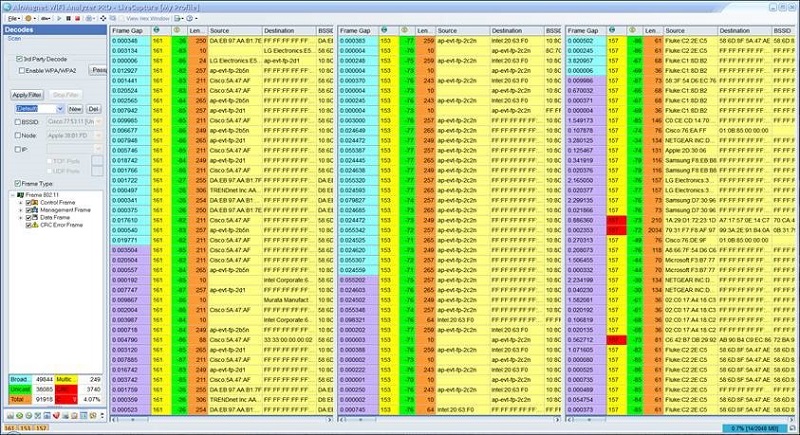
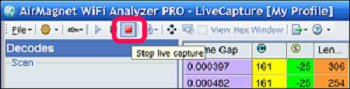
9. To stop the live capture, click on the red square icon on the top left menu.
10. Once the capture is stopped, the data will stop scrolling on the screen. It displays each of the channels in columns that the individual adapters captured data on.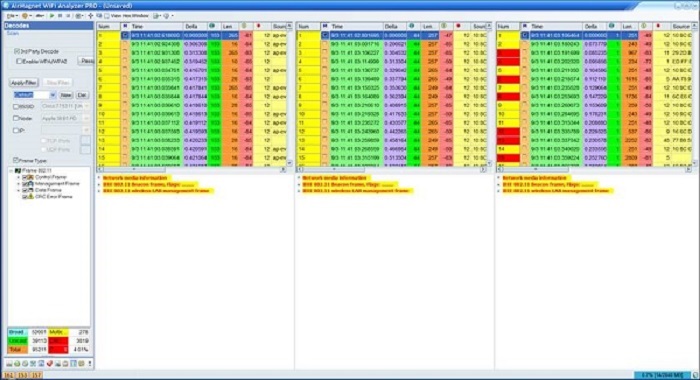
11. In the upper left menu, select File > Save As.
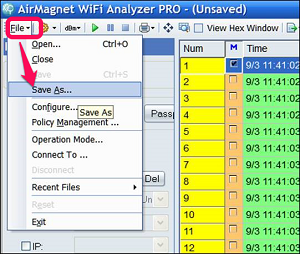
12. This brings up a menu to save the file. Browse to the desired folder location and rename the file to a desired name. Click Save when complete.![]()
13. You can save the file in the following formats:
.amm - to playback later in WiFi Analyzer
.cap - to view the data in Sniffer, Wireshark or WinPcap