You’re offline. This is a read only version of the page.


There are two ways to configure your LinkRunner AT settings. One is via the Link-Live portal, which this article will cover, and the second way is via the unit itself.
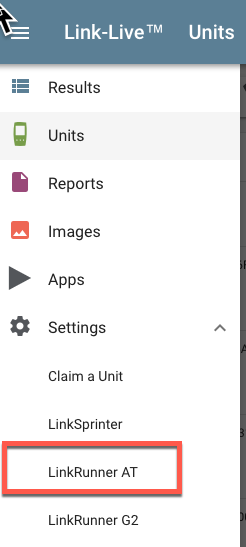
To access, drill down to Settings from the upper left menu and click LinkRunner AT.
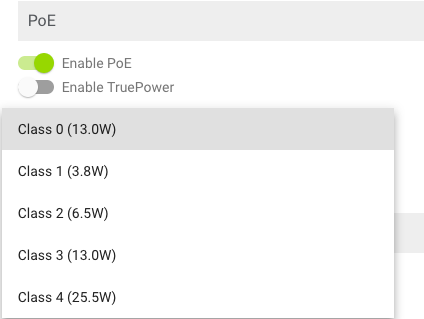
Enable PoE:
Set the slider to green to Enable PoE, then select the applicable class. If you would like to test the actual wattage load, enable TruePower.
Enable VLAN:
Set the slider to green to Enable VLAN if you'd like to specify the VLAN, otherwise, leave it off.

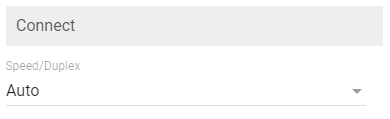
Connect:
Set the slider to Green, if you would like to specify the actual speed/duplex settings you can do so through this option.
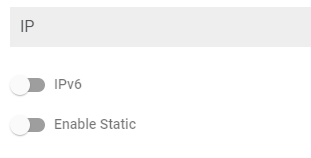
IP:
Set the Slider to Green, if you use either IPv6 or static IPs on your network, slide to green for the applicable option.
Reflector:
NOTE: ALL NetAlly products should use the factory default settings are MAC+NetAlly and MAC IP
Packet Type
ALL - Reflect all incoming packets.
Not Broadcast- Reflect all multicast and unicast packets.
MAC - Reflect packets whose destination MAC address matches the LinkRunner AT unit's MAC address.
NETALLY- Reflect packets containing one of these ASCII strings: "DATA:OT", "PROBEOT", or "LATENCY."
MAC + NetAlly - Reflect if both the MAC and NetAlly filters described above are satisfied.
Swap
Can be configured based on the master device.
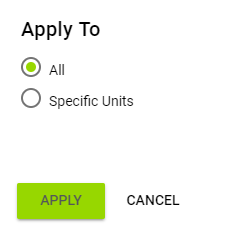
Once you have selected all your setting changes above you will have the option to choose which unit (or all units) that you would like to have them applied to. Click Apply when you are finished.