
You’re offline. This is a read only version of the page.


There are a couple of ways to add certificates to your AirCheck G2, through Manage Certificates on the device or through the AirCheck G2 Manager software.
Manage Certificates from Unit:
The Manage Certificates screen allows you to import digital certificates from a USB flash drive. Imported certificates are saved in the active profile.
From the Home screen, tap Settings (gear icon), then tap Manage Certificates. Tap Add Certificate to import a certificate from a USB drive inserted into one of the USB ports on the AirCheck G2.
AirCheck G2 Manager Software:
1. Launch the AirCheck G2 Manager software and click Profile Setup.
2. Click Create a New Profile.
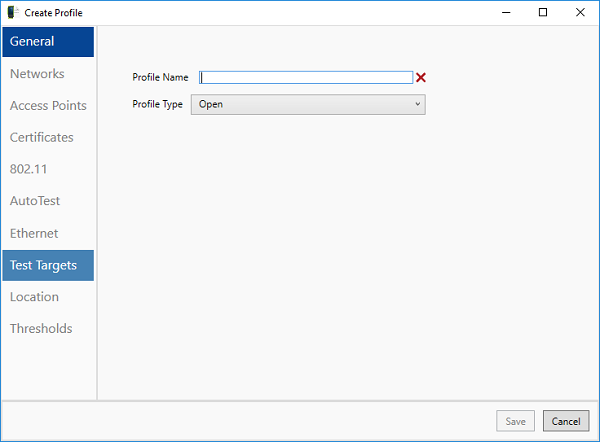
3. Enter a Profile Name. For example, “EAP-TLS Profile”
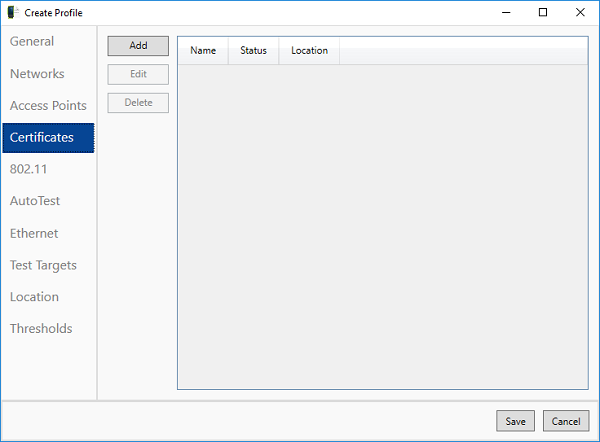
4. Click Certificates and then click Add.
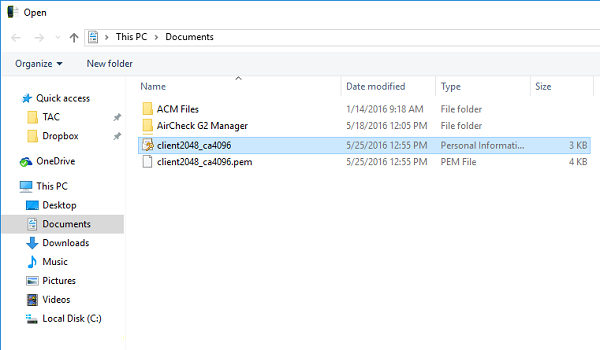
5. Select your (Exported Certificate with Private Key)
6. If your Certificate with Private Key requires a password, click “YES” to (Is this Certificate encrypted) otherwise click “NO”.
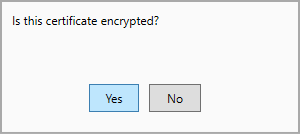
7. Enter your Certificate Key Password.

8. Click Networks, then Add and type your SSID “EXACTLY as it appears in your network list”.
9. Click Authentication and select WPA1-Enterprise.
10. Ensure Encryption is set to Auto, the EAP type is EAP-TLS, and your certificate and private key are selected.
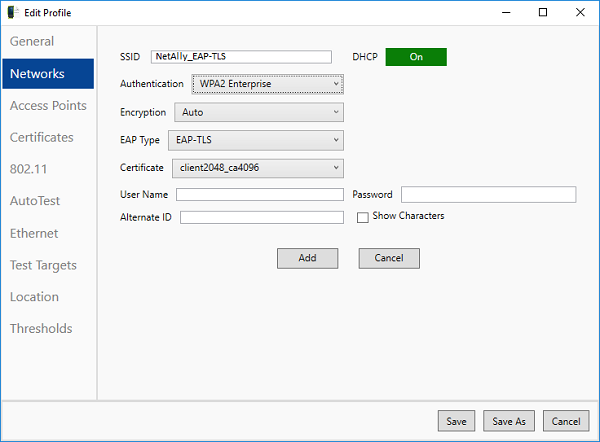
NOTE: User Name, Password, and Alternate Field do not apply to EAP-TLS so they should be left blank as the above screenshot indicates.
11. Click Add first, then click Save.