
You’re offline. This is a read only version of the page.


Remotely access the EtherScope nXG using a VNC client connection. While you can establish a VNC connection over the Wired or Wi-Fi Test Ports, the Management Ports provide more stable links.
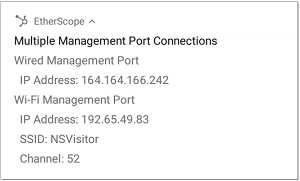
The top notifications are the quickest way to find assigned IP addresses for your EtherScope. Swipe down from the Status Bar to view them.
Configure your EtherScope nXG for VNC:
1. Access General Settings from the menu bar through any of the NetAlly applications.
2. Tap VNC to open the VNC settings screen and configure your unit's VNC connections for remote operation.
3. Configure VNC settings:
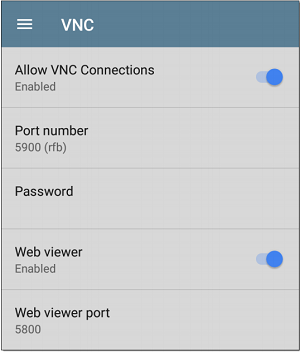
Allow VNC Connections: Touch the toggle button to enable or disable remote connections from VNC clients.
Port number: Touch to enter a port number other than the default.
Password: Touch to enter a password, which a VNC user must enter to access the EtherScope interface remotely.
Web viewer: Touch the toggle to enable or disable web viewer access.
Web viewer port: Touch to enter a port number other than the default.
Connect to your EtherScope nXG via VNC client:
1. Install a VNC application on your PC if you haven't already.
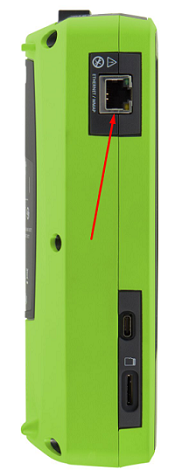
2. Get the IP address of the desired management port (as outlined above).
3. Provide the IP address to the VNC client application and connect. We are using TightVNC in the example below.
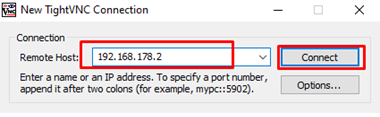
4. If needed, enter the password that is set in the VNC settings.