Self-Help Knowledge
Base Articles


LinkRunner AT: Saving Cable Test Results


Views: 0
 

LinkRunner AT: Saving Cable Test Results


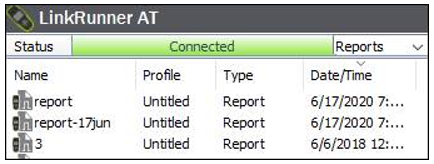
Regarding saving cable test results on the LinkRunner AT 2000, there are two main parts.  One is the configuration of the LinkRunner AT unit and the LinkRunner AT Manager.  The second part is saving and accessing the results via the LinkRunner AT Manager.
Configuration
LinkRunner AT Manager Software Installation
The LinkRunner AT Manager software is available for download via your Link-Live account.  To download:

  1. Log in to your Link-Live account.
  2. From the Options menu, expand the Support option and select the Software Downloads option. 
  3. Click on the LinkRunner AT Manager button to download. 
  4. Install this application on your computer and connect the LinkRunner AT via the cable provided with the unit. 

 
LinkRunner AT 2000 Configuration
Configure LinkRunner AT 2000 to save results locally:

  1. On the LinkRunner AT 2000, go to Tools > General Configuration. 
  2. Set the Reporting Mode option to Local.
  3. Press F2 to Save.

 
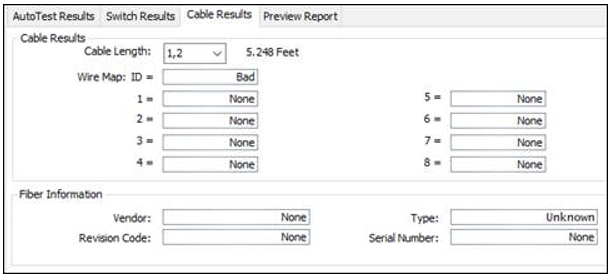
Running the Cable Test and Saving/Viewing Results

  1. Run the Cable Test and save the result.
    1. Run the cable test.
    2. Press Save button.
    3. From the Save Report As screen, save results to desired file name.
  2. View Results/Reports via LinkRunner AT Manager
    1. Connect LinkRunner AT to the computer via the cable provided with the unit.
    2. Open LinkRunner AT Manager.  The status should show Connected.


    1. Click on the results file name to view Report.  Cable results that show “none” means the cable has no issues.

You can also take screen captures from the LinkRunner AT while it is connected to the LinkRunner AT Manager.  This can be done via Tools > Screen Capture.