
You’re offline. This is a read only version of the page.


You can access the Test Accessory from it's web interface by opening a web browser and inputting the IP address of the unit. You can acquire the IP address from Link-Live or discovering the Test Accessory from your main handheld tester. Additionally, you can locate the IP address from your DHCP server client list.
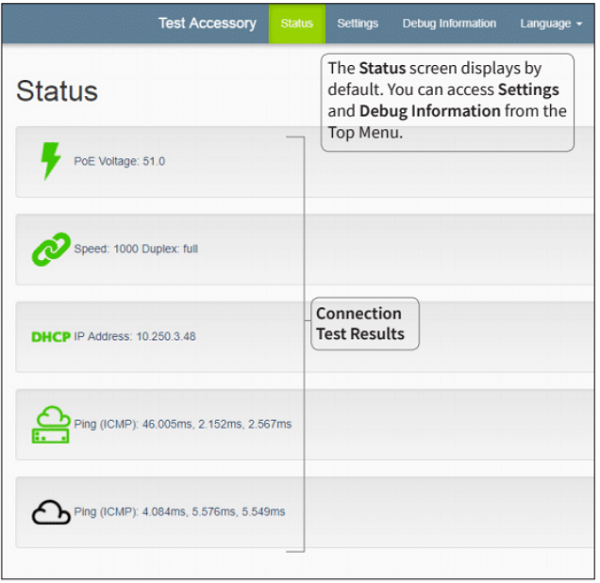
When viewing the web server interface, the status screen displays by default. The status screen displays the latest connection results from the Test Accessory. You can access settings and debug information from the top menu, as seen in the example below:
Settings
IP Configuration
These settings allow you to choose and configure a static IP address. Click Apply Changes to save new settings.
Proxy Configuration
This section lets you configure settings for a proxy server. If you chose Automatic or Manual proxy, enter the Proxy Address, Port, Username, and Password as required. Click Apply Changes to save new settings.
Debug Information
This section contains troubleshooting information for use by NetAlly’s technical support.
Log Files
Click the button to Download Log Files.
Log Level
This setting lets you change the threshold at which events are logged in the Log Files.
Select the drop-down menu, and select a new setting to adjust the log level.
Click the Default Log Level button to reset to WARN, the default setting.
Nearest Switch Test
Click the Nearest Switch Test button to cause the Test Accessory to identify the closest switch and display its characteristics below.
Language
Select this menu item to choose a different language from the drop-down list.